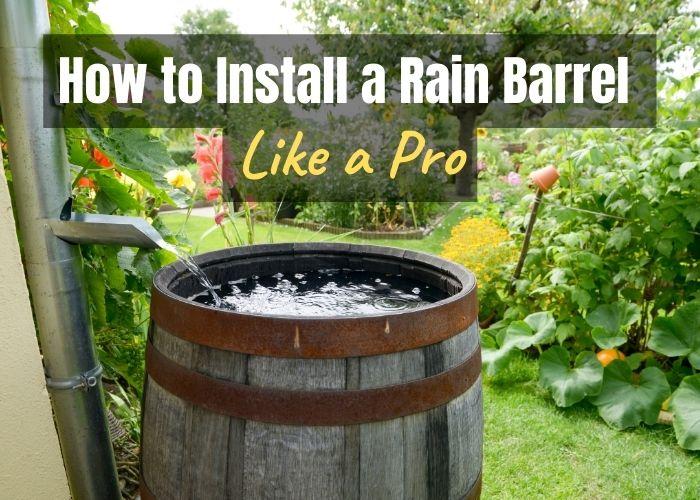
Whether you’re a novice or experienced gardener, installing a rain barrel is usually pretty simple. Conserve water, minimize puddles and save money all at the same time. Here’s how to install a rain barrel in your own backyard with tips from the pros…
Section 1: How to Install a Rain Barrel
First of all, a rain barrel is a container designed to collect and store rainwater from your roof’s downspout. By doing so, you can use this collected water for various purposes like watering your plants, washing your car or even cleaning outdoor surfaces.
To get started, gather the following tools and materials:
- Rain Barrel: Choose a durable, food-grade barrel with a capacity that suits your needs.
- Downspout Diverter Kit: This will help you connect the barrel to your downspout.
- Hacksaw or PVC cutter: You’ll need this to cut the downspout.
- Drill: Essential for creating holes for the spigot and overflow valve.
- Tape Measure: To ensure accurate measurements.
- Level: This will help you position the rain barrel correctly.
Section 2: How to Connect a Rain Barrel to Your Downspout
Step 1: Find the ideal location: Look for a spot near a downspout, preferably close to the area where you want to use the collected water.
Step 2: Prepare the downspout: Use your tape measure to measure a height of approximately three inches above the top of your rain barrel. Then, mark this point on the downspout using a pencil. With a hacksaw or PVC cutter, carefully cut the downspout at the marked spot.
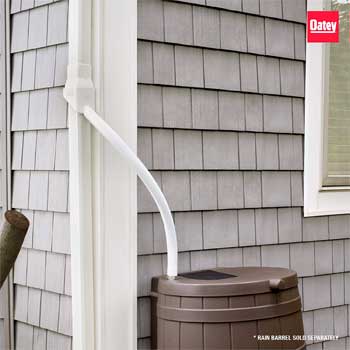
Step 3: Install a downspout diverter: This page explains exactly step-by-step how to connect a rain barrel to your gutter downspout. You can easily redirect rainwater into the barrel while allowing excess water to flow away using a low-cost adapter kit.
Section 3: How to Add a Spigot to Your Rain Barrel
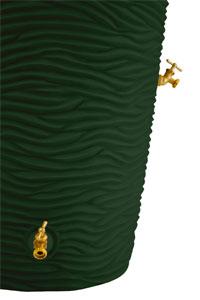
A spigot is a crucial component of your rain barrel, as it allows you to access the stored water with ease. You can actually install a spigot in 3 easy steps:
Step 1: Choose the right location: Locate a spot towards the bottom of the barrel, near its base. Ensure it is positioned slightly above the ground to facilitate easy water flow.
Step 2: Drill the hole: Use your drill to create a hole at the chosen location. Make sure the hole is sized to fit your spigot snugly.
Step 3: Attach the spigot: Put the threaded end of the spigot through the hole from the inside of the rain barrel. From the outside, attach a rubber washer and nut to secure the spigot tightly. Then, tighten the nut using a wrench until it is snug.
Section 4: Common Mistakes to Avoid When Installing a Rain Barrel
Although setting up a rain barrel in your backyard is a fairly simple project, you don’t want to overlook potential mistakes that can lead to problems…
Neglecting Overflow Control: To prevent overflow during heavy rain, install an overflow valve near the top of your rain barrel. This will divert excess water away from the barrel and prevent damage or flooding.
Poor Positioning: Ensure your rain barrel is placed on a level surface to maintain stability and prevent tipping. Additionally, choose a location that receives adequate rainfall and has easy access to your downspout.
Inadequate Maintenance: Regularly inspect your rain barrel for debris, leaves, and insects that may clog the system. Clean the barrel periodically and remove any obstructions to maintain water quality and prevent blockages. And if you need to control mosquitos, try mosquito dunks.
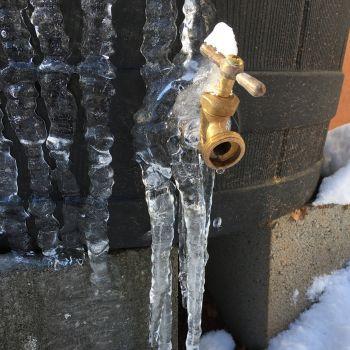
Forgetting to Winterize: In colder climates, it’s crucial to winterize your rain barrel to prevent freezing and potential damage. Disconnect the downspout diverter and drain all water from the barrel to avoid cracks or leaks caused by freezing temperatures.
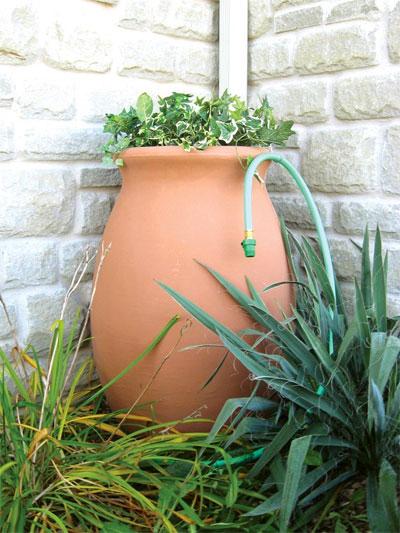
All that said, if you want to harvest rainwater at home but don’t want to build your own barrel from scratch, check out these decorative rain barrel kits.

