More and more people are starting to collecting rainwater at home. However, how do you find out how to make your own rain barrel?
There are rainwater harvesting kits that you can buy, but the truth is that rain harvesting systems are pretty straightforward and therefore not difficult to make.
You will need to purchase a few basic materials and tools (that you probably already have), and you can assemble a rainwater tank yourself.
What Parts Do You Need to Build a Rain Barrel?
There are 5 main rain barrel parts (and of course other accessories you can buy to dress up your container or add more functionality). Let’s take a look:
1. Rain Harvesting Container
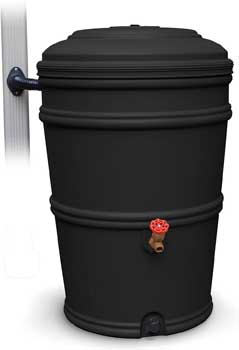
You will need a barrel, drum or other container to hold the water, usually with between a 30 and 100 gallon holding capacity. The rain tank should be opaque and rust-resistant. Most homeowners use containers made of heavy duty plastic.
Keep in mind that rain tanks can get heavy when full. Some people place their rain collectors on the ground. However, if you plan on using or building a raised platform, consider the weight it will need to carry. Some homeowners use concrete blocks. For example, Philip Rastocny, author of Build an Extreme Green Rain Barrel, says that a 60 gallon barrel can weight upwards of 450 pounds when full of rainwater.
Note: You can use multiple containers and connect them together with connector systems, so keep this in mind if you plan on expanding your water storage system. You don’t have to start with a giant tank, that is, unless you want to.
2. Rainwater Diverter
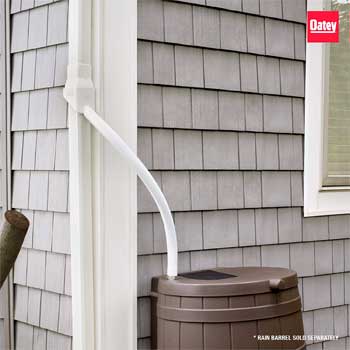
A diverter is used to direct water from a gutter downspout into the barrel. You can set up a rain collector directly below a downspout without using a diverter kit, but a diverter usually includes an extension hose which gives you more flexibility as to where you place your barrel.
3. Debris Screen for Downspout
A screen will prevent debris from getting into your rainwater holding tank. If you have extra wire mesh or a screen, you can cut it to fit the opening of your barrel. Also, many diverters come with a debris-blocking filter.
4. Barrel Spigot
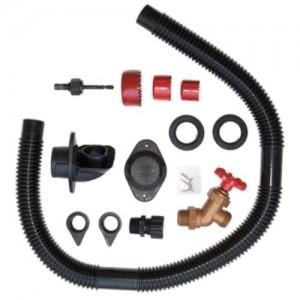
A water spigot releases the stored water. Some people prefer brass spigots over plastic, because they can be more durable and last longer, but plastic spigots work fine as well. If you want to keep your project simple, there are kits you can get that include all the pieces you need.
5. Hose to Connect the Downspout to Your Rain Barrel
A hose to attach to the spigot for watering plants, etc.. This is something that you probably already have in your yard, but keep in mind that a shorter hose may work better because the water pressure from a rain barrel is not the same as from a well or city service.
NOTE: A hose is actually not required, but many people attach one.
6. Rain Barrel Pump (optional)
A pump is not required, but can be helpful to increase water flow from your rain barrel, especially if you want to attach a watering system to your rain tank. Some homeowners elevate their containers instead, but this is also not necessary.
Tools Needed to Make Your Own Rain Barrel:
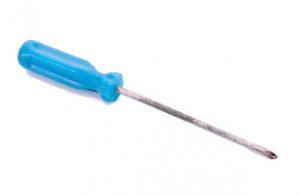
You will need to be able to cut or drill holes into your container for input and output. Some kits include hole cutting supplies and all you need is a screwdriver. Speaking of included supplies, a rain barrel kit can save you a lot of time and mistakes because they include matching parts that fit with each other and make your “construction job” a lot easier.
One More Thing:
After you’ve finished making your own rain barrel, don’t forget mosquito dunks to keep pests at bay.

